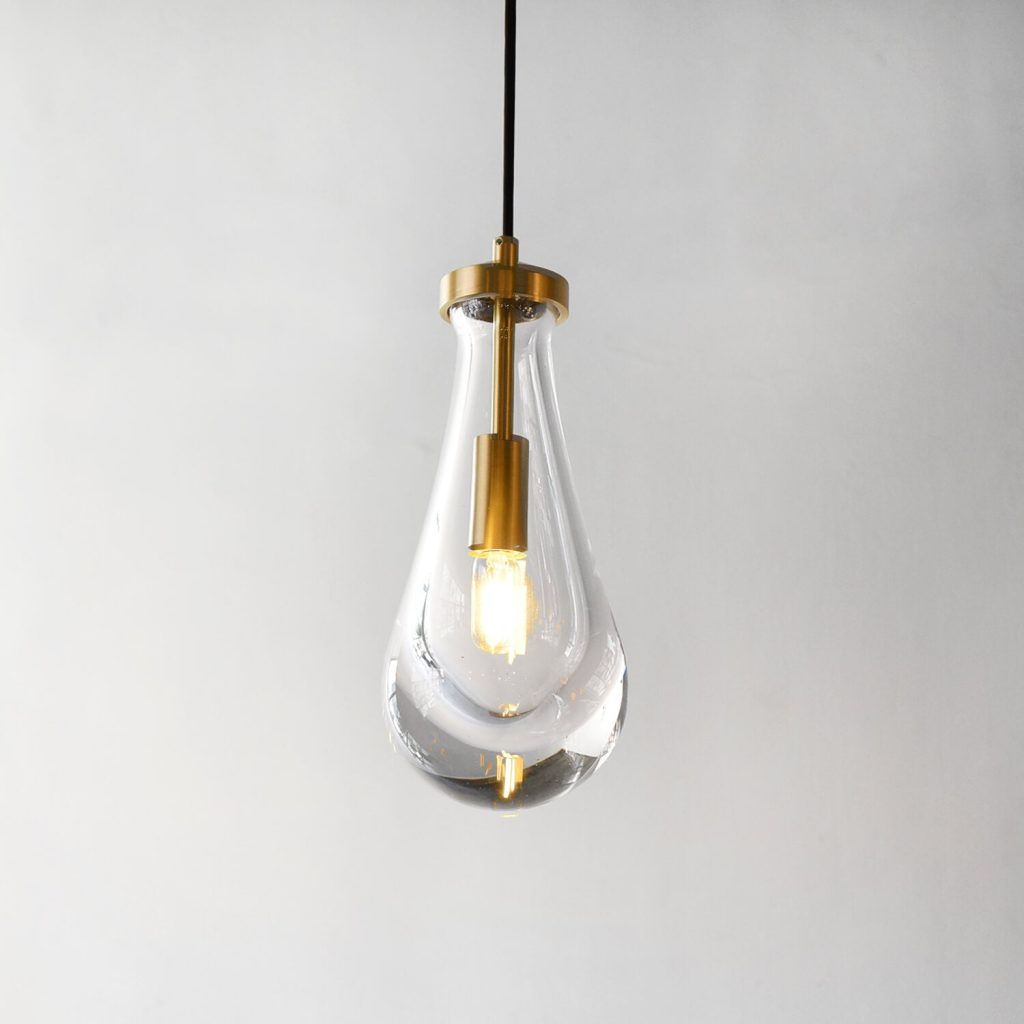
I lampadari sono un bel modo per illuminare la tua casa. La loro bellezza aggiunge brillantezza ed eleganza a qualsiasi stanza, ma tendono ad attrarre polvere e ragnatele che possono diminuire la loro brillantezza scintillante. Pulire il tuo lampadario può essere un compito arduo, soprattutto se l’apparecchio è appeso in una posizione precaria. Mentre molte persone scelgono di chiamare un servizio di pulizia professionale per pulire i loro lampadari, il fai-da-te del fine settimana può affrontare il lavoro con alcune precauzioni e forniture di base. Baurulamp.
Il primo passo è spegnere l’alimentazione del lampadario. Questo può essere fatto spegnendo l’interruttore in quella zona della casa o semplicemente posizionando del nastro adesivo sopra l’interruttore a muro in modo che non possa essere acceso inavvertitamente durante il processo di pulizia. È anche una buona idea preparare una coperta o un fermo di stoffa sotto il lampadario per evitare la rottura di vetri o prismi di cristallo che potrebbero cadere durante la pulizia.
Una volta spento l’apparecchio di illuminazione, la prossima cosa da fare è spolverare accuratamente l’intero lampadario con un piumino, lana d’agnello o microfibra per rimuovere quanto più sporco e ragnatele possibile. Ciò contribuirà a far funzionare il detergente in modo più efficace e a prevenire striature sui prismi di cristallo. È anche una buona idea completare questa spolverata iniziale mentre il lampadario è ancora caldo in modo da poter individuare eventuali aree che potrebbero richiedere un’attenzione speciale.
Che il lampadario sia in cristallo o in vetro, una superficie pulita produrrà sempre i migliori risultati. Puoi acquistare un detergente per lampadari già pronto oppure puoi creare la tua soluzione mescolando una parte di alcol isopropilico con quattro parti di acqua in un flacone spray. Indossa guanti di cotone bianco (per evitare sbavature sui prismi di cristallo), vaporizza il tuo detergente fatto in casa su un panno in microfibra e pulisci ogni pezzo del tuo lampadario. Una volta terminato, asciugare ogni pezzo con un panno asciutto e privo di lanugine per evitare macchie d’acqua.
Se stai pulendo un lampadario con “gocce” di acrilico (che sono più fragili del vetro), dovresti pulirle con un panno pulito e privo di lanugine anziché con un panno in microfibra. Inoltre, assicurati di tenere il flacone spray il più lontano possibile dai pezzi acrilici poiché troppo liquido può danneggiarli.
Una volta che il tuo lampadario è pulito e asciutto, è una buona idea sostituire le lampadine bruciate e poi lasciare riposare il lampadario per diverse ore prima di riaccenderlo. È anche una buona idea prima di ogni pulizia assicurarsi che i cavi siano ben fissati e che non vi siano collegamenti allentati, che potrebbero causare pericolose scintille all’accensione dell’apparecchiatura. E, naturalmente, fai attenzione a non far girare il lampadario mentre lo pulisci, in quanto ciò potrebbe romperlo o far cadere i suoi cristalli. Smontare un lampadario per la pulizia è un lavoro ingrato, ma è necessario se vuoi che la tua splendida illuminazione brilli magnificamente nella tua casa.


